Satisfactory
Key Links
(Links open in new tabs/windows)
- Official Satisfactory Wiki
- Satisfactory Calculator (production calculator and interactive map)
- Satisfactory Tools (production calculator with better UI) - There's also the FICSMAS version.
- Satisfactory Logistics (inter- and intra-factory production tracking tool)
- The Ultimate Drone Guide (Reddit)
- Variable Input Guide for Pipes (Reddit)
Post 1.2
New save: Node Out In My Mind
Game settings: Random nodes of random quality. No "weighting" options selected, just randomness.
Goals:
- Build comfortably large factories with enough room for expansion/modification.
- Boxes are fine, but build vertically and offset the floors.
- Experiment with painting, walkways, and different methods of showing/hiding logistics.
- Use all transport methods (wheeled vehicles, trains, drones) in their best-fit scenarios.
- Track inter-factory material income & outgo more effectively.
- Explore randomized nodes locations diegetically rather than using SCIM to find and pre-plan build sites.
- Radar Towers are fine, so that research tree is a priority.
- SCIM can still hunt down pods/Mercers/Sloops, because hell no to using the in-game object scanner for that.
- Golden Nut
Post 1.1
New save: Upend Away
Goals:
- Build complete, walkable, cleanly structured facilities.
- Maximize production wherever possible (excepting Space Elevator shipments).
- Track income & outgo.
- Figure out nuclear-powered drone fleet logistics.
- Save humanity.
(How did we do? Ehhh. https://greyduck.net/journal/5183)
Color palette courtesy of https://www.color-hex.com/color-palette/32115
Best Aluminum Production
- Required alts: Sloppy Alumina and Pure Aluminum Ingot. This takes Silica completely out of the equation. Don't even bother starting an aluminum production site without these recipes.
- The "nice round numbers" math:
- 200 bauxite + (80 new / 120 recycled) water = 240 alumina solution.
- 240 alumina solution + 120 coal = 360 aluminum scrap -> 180 aluminum ingots.
- Added benefit of this precise math is it's 1 Refinery -> 1 Refinery -> 6 Smelters.
Duplicate as needed.
Beam Heights for Machine Power
NOTE - We have 8m, 12m and 20m painted-beam-based blueprints now. On the TODO list? Update the following list with which blueprint goes where with which machines.
- Smelter - 8m blueprint - Aligned with input end of machine
- Constructor - 8m blueprint - Aligned with back "hump" of machine chassis
- Refinery - 20m blueprint - Corner-to-corner at the outer corner of the outside machine
- The blueprint is actually 17m + 3m to total 20m, crossbar at the 17m spot with power warts topside of the beam.
- Foundry - 8m blueprint - Running right over the top of the conveyor floor holes
- Assembler - 8m blueprint - More-or-less at the front/output-end "hump" of the chassis frame.
- Manufacturer - 12m blueprint - "front" edge of beam aligned with exits (barely not blocking belts)
- Blender - 12m blueprint - Needs experimentation, but probably between the input edge and the top of the nearest chassis hump.
- Packager - 8m blueprint? Needs experimentation
Rocket Fuel
The math is really weird for Rocket Fuel into Fuel-Powered Generators. For a given N(m3)/min of available production out of a Rocket Fuel plant (minus anything siphoned off to be bottled for drones/jetpacks/etc) the equation basically looks like this:
- (N/12.5)*3 = Y amount of generators that can be powered with the Rocket Fuel.
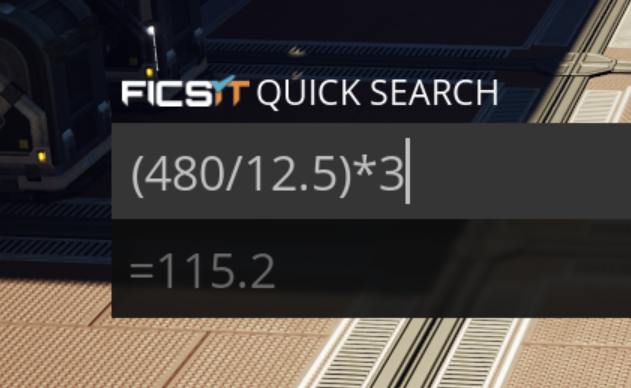
The Nitric-Acid path to Rocket Fuel is probably the least annoying, consisting mostly of refineries and blenders. It also chews up a lot less of the valuable, scarce Sulfur on the map. To get 600/min Rocket Fuel (to power 144 generators) requires:
- Crude Oil: 270/min (and we want the HOR alt recipe, as we're using that for Diluted Fuel and Petroleum Coke and Turbo Blend Fuel... so check for the necessary alt recipes as well)
- Nitrogen Gas: 240/min (best delivered in cannisters for that lovely, lovely compression)
- Sulfur: 180/min
- Water: 240/min (for Nitric Acid and Diluted Fuel)
- Iron Plates: 20/min (for the Nitric Acid)
On the downside... Nitric Acid is part of the "Nuclear power" milestone set, so the question is whether to push for that unlock first or not. YMMV.
Space requirements
- A block of 4x5 Fuel Generators wants a 13x15 grid of foundations. Ideally we want generators facing one another across exactly one foundation of empty space to make the drop-down pipes work (anti-slosh mechanism).
Color Notes
Full object reference guide image? Full object reference guide image (outdated, does not include 1.0 items).
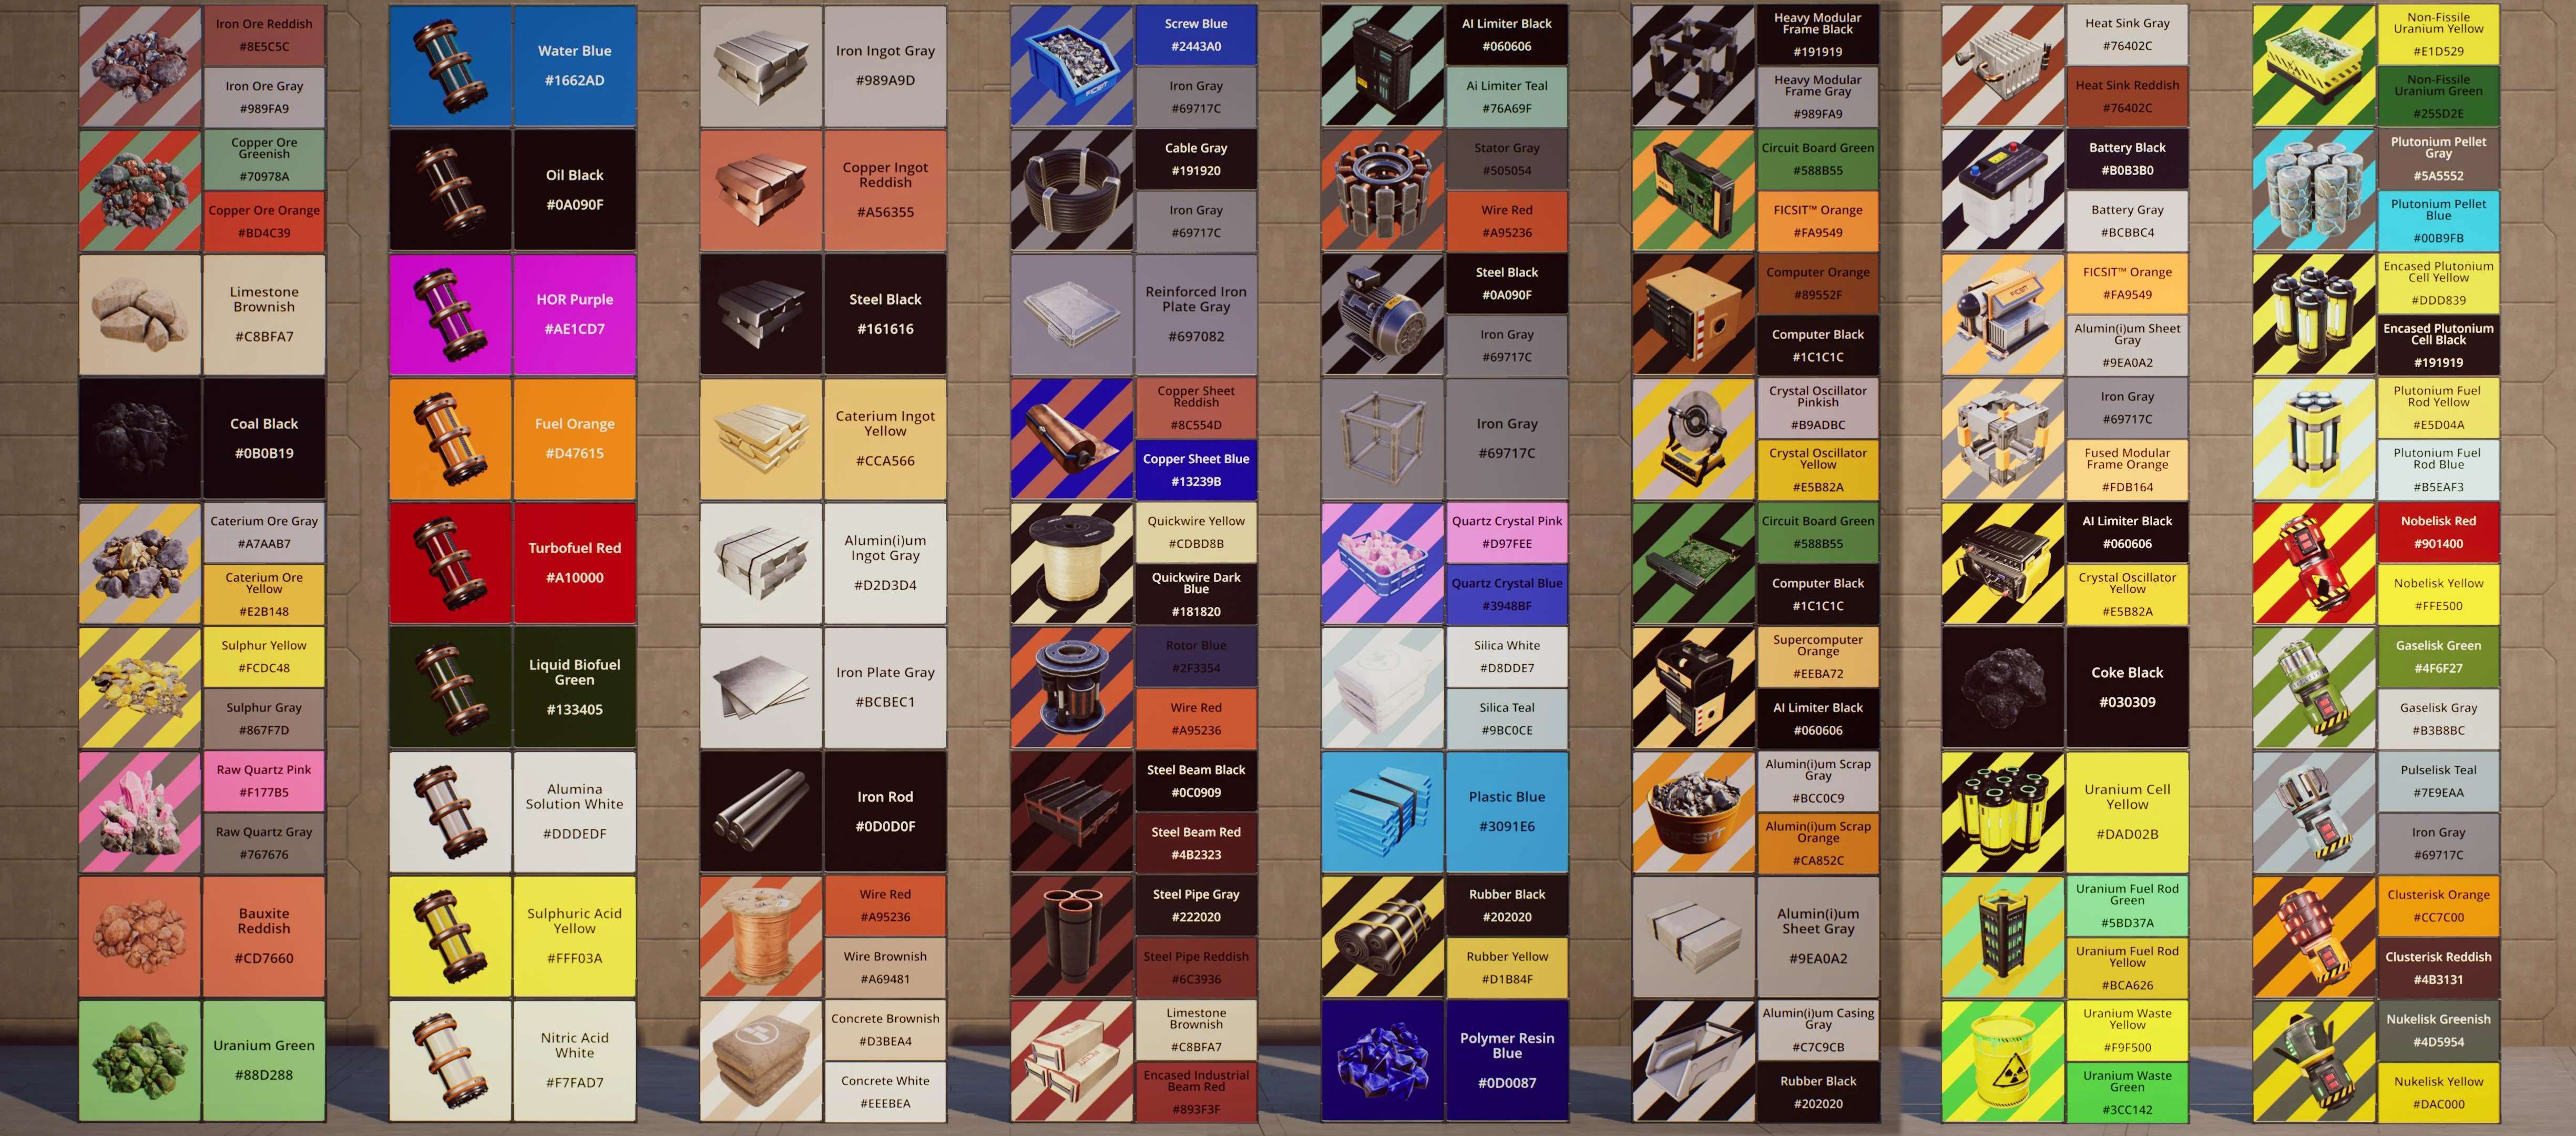
For hex code color lookup by item for the full 1.x game, see https://satisfactory-tools.vercel.app/solo/.
Foundation & Pillar Coloring
- "...one of the foundation colors is for the entire foundation (the two-tone is done by the game), the other color applies to any pattern applied. So if you need to change a pattern color, change the second color of the swatch."
- Vivid colors can be achieved for the concrete foundations (but not walls, sigh) by setting the color via the top slider, then hand-entering numbers into the input fields to the right of the 2nd/3rd sliders.
- Further study (of YouTubers' efforts) reveals that putting 1.4 into the Saturation (2nd) value is the sweet spot for giving nearly a rainbow of vivid color options, while a 5 in Brightness (3rd value) is all that's needed. Going past those two values makes no difference for colors.
- None More Black and Whiter Than White can be achieved with a Brightness of -1 and 6 respectively.
Drone Gotchas
- Drones need to be able to unload or they won't load & take off. This is as opposed to trains, which will happily do a "fake unload" and leave the station again right on time. If you're going to ship via drone, make sure you're using or sinking everything that comes out at each stop.
- There are 18 incoming and 18 outgoing stack slots at a drone port, but the drone itself will only carry 9 of those. Adjust/plan accordingly.
Build Tricks
Mall-style Escalators
- Put the foundation one below your target floor foundation level
- Put conveyor poles in place (placement would vary according to room height and angle preference)
- Hide the conveyor poles with walkways leveling with your actual floor
- Finally attach the belt between conveyor poles
Idea and implementation result video here: https://www.reddit.com/r/SatisfactoryGame/comments/mp4sag/mall_style_escalators_vid2/
Tech Tips
Anti-Aliasing
In the tilde console:
r.DefaultFeature.AntiAliasing 0
FPS display
Also in the tilde console:
stat fps